This post first appeared on Khophi’s Dev and was written by Rexford Nkansah
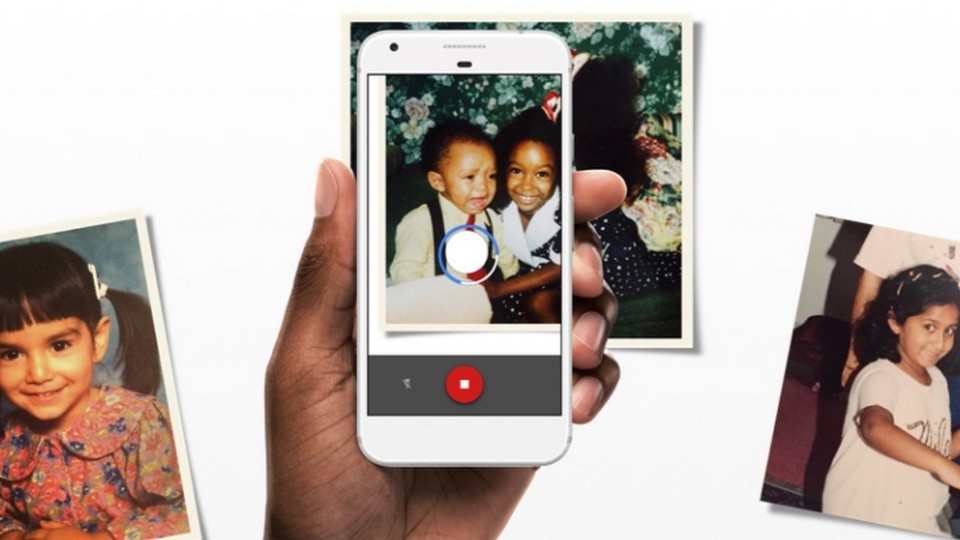
Google PhotoScan is the new Google app in the block to help you bring those old rusty photos of yours to life. If you’re into digitizing all historic photos of yours, of the family, or for a friend, PhotoScan might be what you need.
We all know Google Photos and love it. PhotoScan is the next addition to taking the photo experience to the next level, by transforming all these photos in our hardcopy albums into shareable memories via Google Photos.
Out of the box, PhotoScan is straightforward and gets to the business why you’re in the app.
In this article, I’ll share with you some of the tips I’ve gathered after using the recently launched app to capture over 300 1-to-2-decade-old hardcopy photographs.
In addition, I share what to look out for and the rough edges in the PhotoScan app.
Lighting is Crucial
Like any photography stunt, your lighting is key to the good-looking-ness of your photograph. Underestimate this point, and come crying to anyone, we won’t hear you out.
As much as your phone camera might be great, feed the lens with the right amount of light for crystal clear scans with the PhotoScan app.
Outdoors
What I found to be effective with my scans was doing the photo scans in an open, well-lit space. I find during the daytime, outside on the veranda or somewhere no direct sunlight is, but well-lit from all angles.

Outdoor Phtoscanning
Try to avoid whatever light source you’re using cast shadow(s) onto the subject, as in, your hard copy photograph. You want the surface of the photograph to be uniformly lit.
Pro-tip: In the morning, around 7:30 to 8:30, the sunlight casts shadows an angle. I took majority of my photoscans during this time. The sunlight ain’t too strong nor weak – just at the right intensity to pimp the old photographs, yet not blow them out.
Of course, you could post-pro to cheat around with lighting effects and whatnot after the photo scans are made. However, you can’t post-pro broken photos can. Get it right, the first time!
Indoors
Although the app comes with camera flash glare canceling, you wanna avoid throwing a single-point light source for the photo scans.
When indoor, it can be hard to get a good-looking scan. One simple trick I use is illustrated below.

The Joby lamp has 3 levels of brightness. Depending on lighting condition in the room, tap to the level suitable. I point it an angle to the photograph, then perpendicular to the photograph is where my camera shot comes in from.

The results aren’t phenomenal, yet I get good results.
Remember, the original photographs were probably shot in less than 1 megapixel (20 years ago, in Ghana), so do not expect astronomical results with the photo scans.
If you can pick a great outdoor setup to do the scans, you’ll be sure to get great results. Otherwise, thinking through with your indoor setup will ensure an effective scan.
Solid Color Background
Do the PhotoScan app a favor – place your photographs on a solid color background.
Of all the about 150 photo scans I did, I resized, cropped, adjusted nothing. Every single shot becomes the final because the app could readily easily do the cropping and adjusted.
This was all possible because of the contract between the background and the actual photograph. It was easy for the app to know where the photograph ends, and what to chop away.
I used an A2 paper as my solid white background. I do not know if the white background matters, however, it worked pretty well! Other solid colors like red, black or green would do too, I guess.
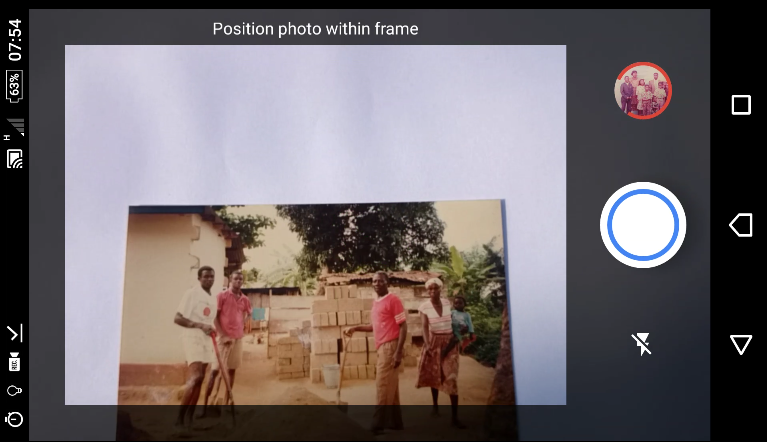
Proper Framing
This shouldn’t come as a surprise as improper framing could give you extra work to do.
The app depends on what’s within the frame to determine where to place the 4 dots. The right framing ensures the dots are positioned at their optimal spots which in turn would lead to great shots and eventual stitching.
Try to keep the photograph within the borders of the PhotoScan viewfinder.
My Issues with Photo Scan
First, the app struggles with processing a scan, in the process of doing another one. And yes, before you lash it out on my phone, at least, I have a phone that supports 20 MP camera with a 3 Gig RAM, at least enough to take 4K video whiles rendering 2 Photosphere images in the background.
To optimize the app for use in quick shootouts, it’ll be great if background processes regarding the rendering of photo scans can wait whiles the app is still open.
This will mean dedicating the highest amount of concentration to the app to do more scans, then later when the app is closed, the renderings could happen in the background.
I had to wait sometimes about a minute or two for the rendering process to complete. With the above approach in place, I would have taken 4 shots within that 1 minute or so I had to wait.
And one last thing, the resolution. I understand these old photographs are of less than 1-megapixel quality, but the option to select whatever resolution we want will be great.
At least, depending on the size of the photograph, one might need to use 3, 4 or even 6 megapixel.
Don’t think for your users, Google. The current varying MP sizes the PhotoScan app chooses depending on the photograph is great, however, a bit more user control won’t hurt anyone.
Google developers making decisions for users everywhere in the world is annoying and unprofessional, as I touched on that extensively in my article, Chromecast – The Angel Devil about the Google Chromecast.
Conclusion
Go out there, and bring back amazing memories to live, and don’t forget to share them with friends and family, and loved ones.
Lemme know in the comments what you love (or hate) about the app or any great memories you’ve captured you wish to share.
Featured image: La Nación


Why does photoscan stop scanning?